
While working on one of our projects at ScaleReal, We faced a lot of challenges in figuring out a few things regarding Google Map features, like rendering maps in react app, adding custom markers, handling zoom levels, adding geofences and using the drawing manager tool with different data formats. We had to look for various resources to implement a single Google Maps feature in our app. So we decided to write a blog where you will see the detailed process of integrating Google Maps with React application and dealing with its various features.
Google provides Google Maps JavaScript API, which gives the flexibility to customize map components with our functionality.
There are libraries available which built on top of Google Maps JavaScript API to integrate Google Maps with React applications. After trying out different libraries finally, we decided to go ahead with the react-google-maps/api. It provides an easy way to use Google Maps JavaScript API features in our app as a react component.
Requirements ☑️
Following are the basic requirements that you need to get started with the map integration in react application
1. A React application setup
npx create-react-app project-name
2. Google API key
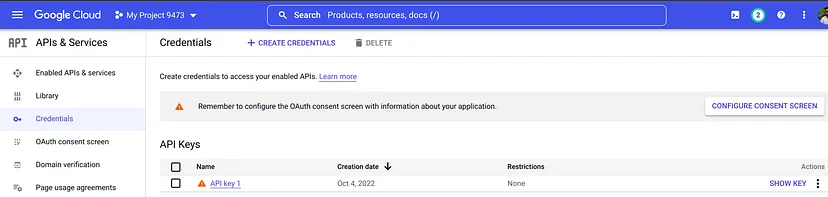
- Login to your Google Developer Console dashboard
- Create a new project
- Go to the Credentials section
- Click on Create Credentials
- Select the API key option
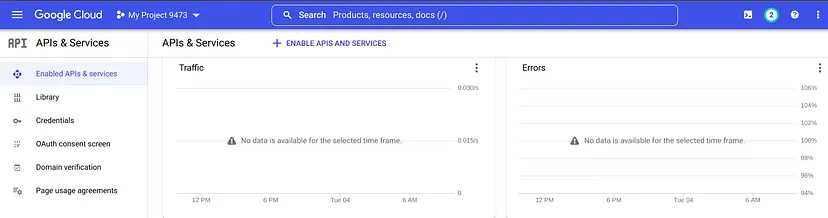
3. Maps JavaScript API
- Go to the Enabled APIs & Services Section
- Click on Enable APIs & Services
- Search for Maps JavaScript API
- Enable
Note: Maps JavaScript API is free to use but you need to set up a billing account to get rid of the limitations and watermark that comes with it.
4. react-google-maps/api library
npm i @react-google-maps/api OR yarn add @react-google-maps/api
Getting Started 🌍️
Rendering Google Map inside React application
- Import the useLoadScript hook and GoogleMap component from react-google-maps/api
- useLoadScript: It loads the Google Maps API script.
- GoogleMap: It is the main component inside which all the other map components render.
- Provide default props to the GoogleMap component
- zoom: Sets the initial zoom level of the map
- center: Sets a default center of the map
- mapContainerClassName: CSS class name that specifies the height and width of the GoogleMap component
If you don’t pass these default props then the Map component will break since it will not have the necessary data.
Note: You must specify the height and width of the map’s parent container and GoogleMap component to render it correctly.
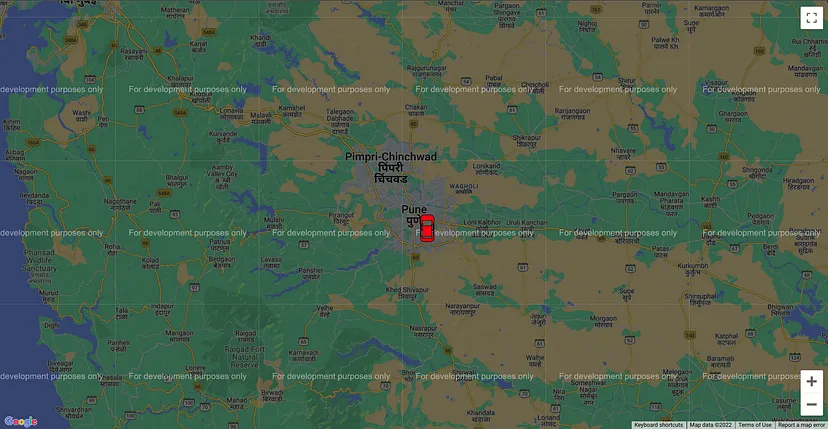
Adding a default/custom marker on the Map
1. Default Marker
- Import Marker component from react-google-maps/api
- Provide position prop to this component which defines the position of the marker on the map
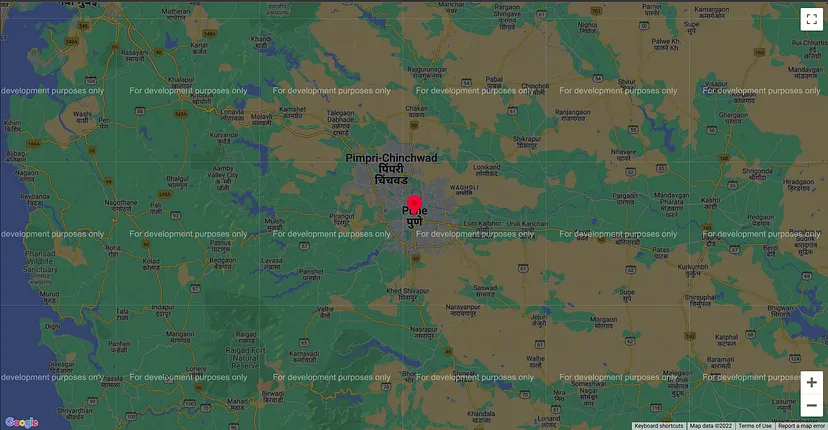
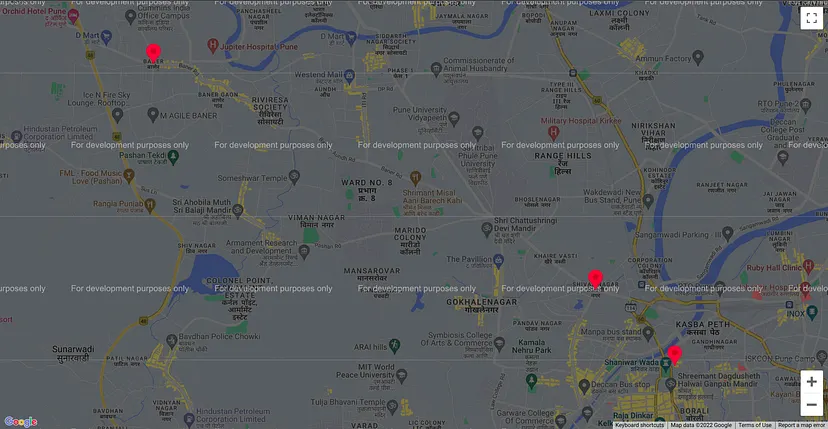
2. Default Marker with different colours
- The colour of the default marker is red. To change its colour you need to pass value to the optional icon prop of the Marker component as mentioned below.
<Marker
  position={{ lat: 18.52043, lng: 73.856743 }}
  icon={"http://maps.google.com/mapfiles/ms/icons/green-dot.png"}
/>
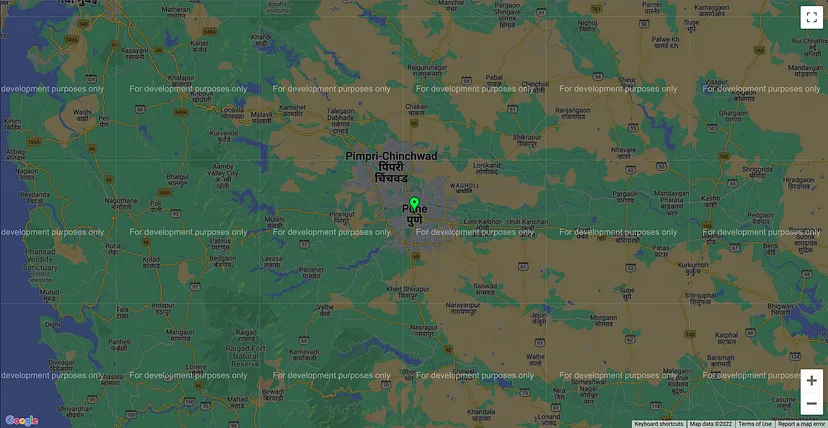
Use any of the below URLs as per your need
http://maps.google.com/mapfiles/ms/icons/green-dot.png
http://maps.google.com/mapfiles/ms/icons/blue-dot.png
http://maps.google.com/mapfiles/ms/icons/pink-dot.png
Please refer to this website for more details.
3. Custom Marker
- There are two ways of adding custom markers on the map.
- One way is directly providing an icon URL to the icon prop as mentioned in the earlier step.
<Marker
  position={{ lat: 18.52043, lng: 73.856743 }}
  icon={"https://developers.google.com/maps/documentation/
  javascript/examples/full/images/beachflag.png"}
 />
- Another way is to create an object with your SVG path along with a few other configurations and pass it to the icon prop.
Dynamically setting a default view of the Map
To set a default view, you need to specify the zoom and center props of the GoogleMap component. But there might be a case where you need to dynamically set the default view based on the marker’s location.
To achieve this, you need to use the onLoad callback function on the GoogleMap component, which is called when the map instance has loaded and then set the map bounds based on the marker’s location.
onLoad function passes the reference of the map component as an argument to the callback function by using which you can access all the predefined methods of the map component.
- LatLngBounds: It is an instance which represents a geographical rectangle from the points at its south-west and north-east corners.
- extend method: It extends the map bounds to contain the given point.
- fitBounds method: It accepts the bounds as a parameter and sets the map viewport to contain the given bounds.
If you are following this approach then there is no need to specify zoom and center props.
_Note: If you are getting an error google is not defined, then either use it like window.google.maps.LatLngBounds() or mention /* global google */ on the top of your file._
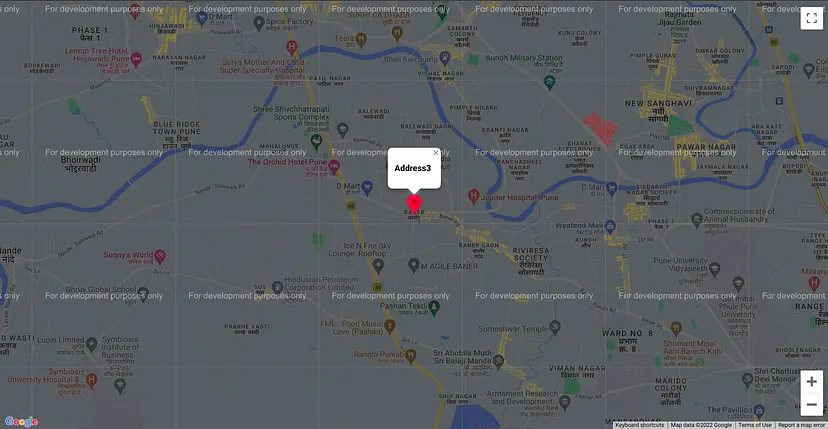
Showing Information Window on a marker click
Import the InfoWindow component from react-google-maps/api to show more information about a specific marker by clicking or hovering on it.
Conditionally render the InfoWindow component inside the Marker component as described in the below code snippet.
Local States
- mapRef: Stores the reference of the map component.
- isOpen: Manages the state of the InfoWindow component.
- infoWindowData: Stores the necessary data of a specific marker.
Callback functions
onLoad on GoogleMap component (onMapLoad):
Set the reference of the map component
Set a default view of the map
onClick on Marker component (handleMarkerClick):
Set the clicked marker at the center position of the map by providing the latitude and longitude to the panTo method.
Set the necessary data for a specific marker
Change the isOpen state to true to show the InfoWindow component
onCloseClick on InfoWindow component:
By default InfoWindow comes with the close icon on the top right corner.
Set the isOpen state as false to hide the InfoWindow component by clicking on the close icon
onClick on GoogleMap component:
Set the isOpen state to false to hide the InfoWindow component by clicking anywhere on the map
So far, we have covered the integration of a google map with React application and the basic features of the Google Maps JavaScript API.
Check out the below links for the GitHub repo and working application.
In the upcoming blog, we will explore some advanced features of Google Maps JavaScript API.
At Scalereal We believe in Sharing and Open Source.
So, If you found this helpful please give some claps 👏 and share it with everyone.
Sharing is Caring!
Thank you ;)