
Hey, there fellow Djangomers and Pythonistas,
At ScaleReal we work extensively on Python/Django Applications and have built a lot of highly scalable applications for various clients of ours.
While working on such apps it’s very important to understand the ins and outs of sending Push Notifications through Django 🔔
So, In this article, we’ll learn about Push Notifications, why to use them, how it works and how to send Push Notifications to Android and iOS devices. So, let’s dive in!
Here’s a list of everything which will be covered in this article:
- What are Push Notifications?
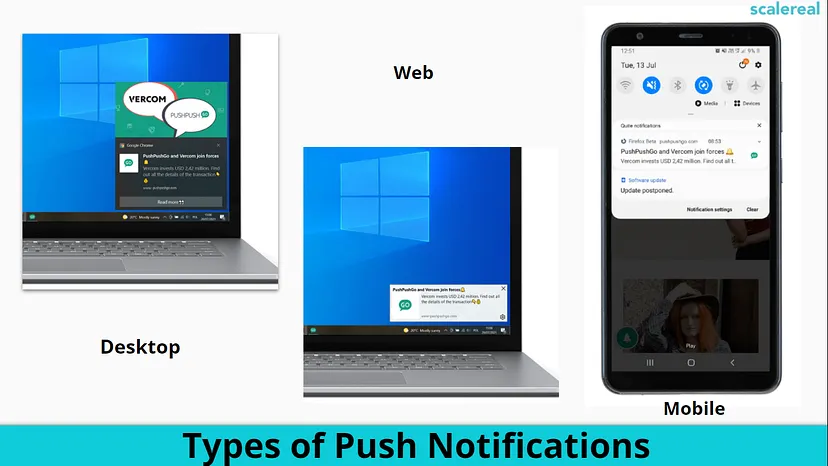
- Types of Push Notifications
- Why use them?
- How does it work?
- How to use it in your own project?
What are Push Notifications?
 That’s how Firebase pushes a notification to our devices 😂
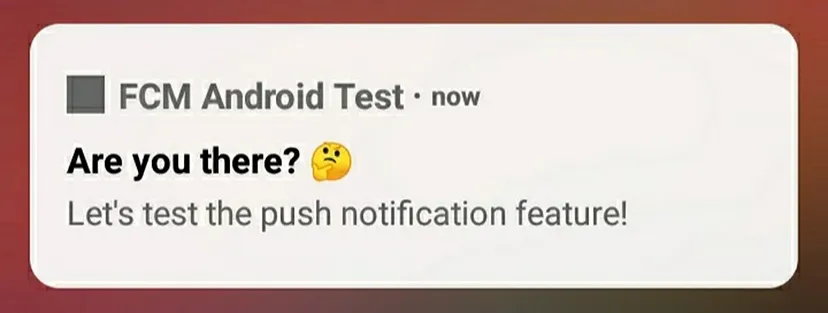
Push notifications at their core are simply a way of alerting users to the information they have opted-in to from apps and services. It’s basically a message that appears on a smartphone. It can only be received by people who have the app installed on their phones. Also, they must have push notifications enabled in order to receive the notifications.
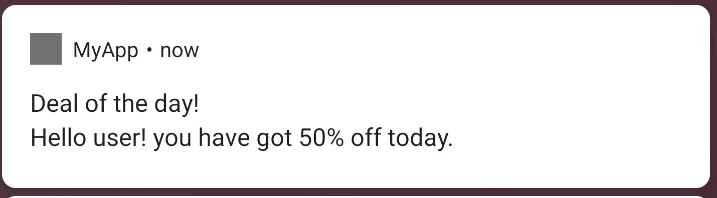 Example of a Push Notification
Why use Push Notifications? 🤔
- Push notifications allow you to engage users outside your app
- If used correctly, push notifications can create a far more loyal and active customer base
- The key is not to over-message and only deliver relevant content
Top Push Notification Service Providers:
For the scope of this article, we’ll be proceeding with Google Firebase
Why use Firebase Push Notifications? 🔥
- Free to use
- Easy to setup
- Send messages to any device
- Advanced message targeting
- A/B test notifications
- Backed by Google
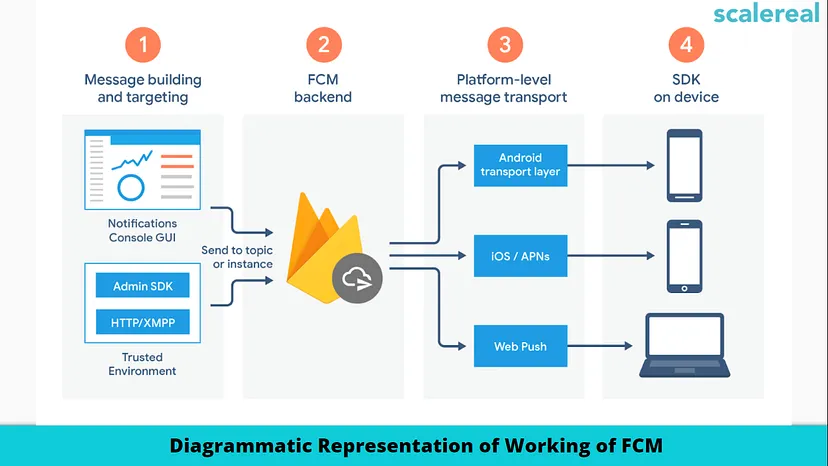
How do Firebase Push Notifications work? 🤨
Alternatively Firebase Cloud Messaging (FCM)

An FCM implementation includes two main components for sending and receiving:
A trusted environment such as Cloud Functions for Firebase or an app server on which to build, target, and send messages.
An Apple, Android, or web (JavaScript) client app that receives messages via the corresponding platform-specific transport service.
You can send messages via the Firebase Admin SDK or the FCM server protocols. You can use the Notifications composer for testing and to send marketing or engagement messages using powerful built-in targeting and analytics or custom imported segments.
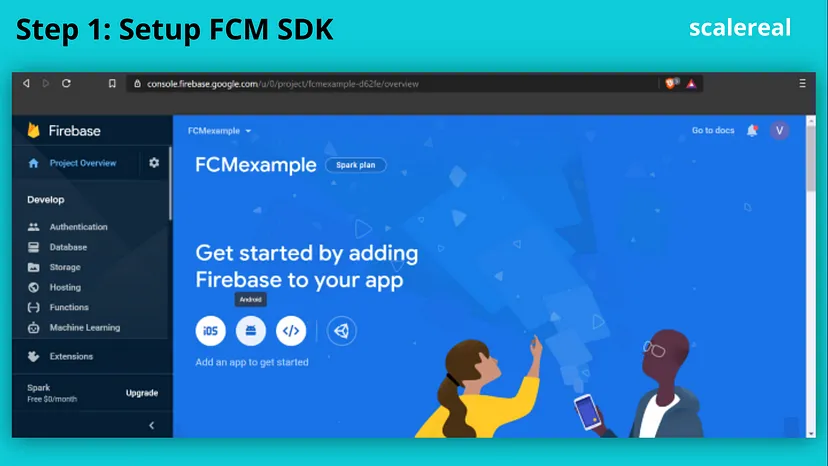
How to set up an FCM project? 👨💻
Set up Firebase and FCM on your app according to the setup instructions for your platform.
Develop your client app:
Add message handling, topic subscription logic, or other optional features to your client app. During the development, you can easily send test messages from the Notifications composer.
You can connect your Android app to Firebase using one of the following options:
- Option1: Use the Firebase console-setup workflow.
- Option2: Use the Android Studio Firebase Assistant (may require additional configuration).
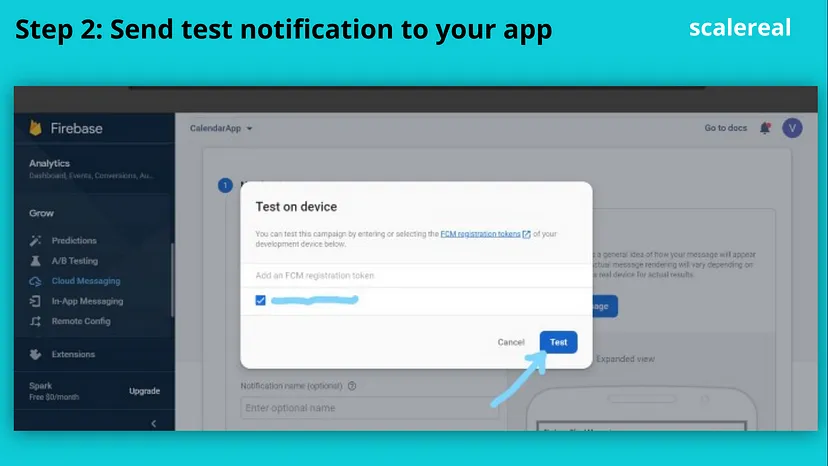
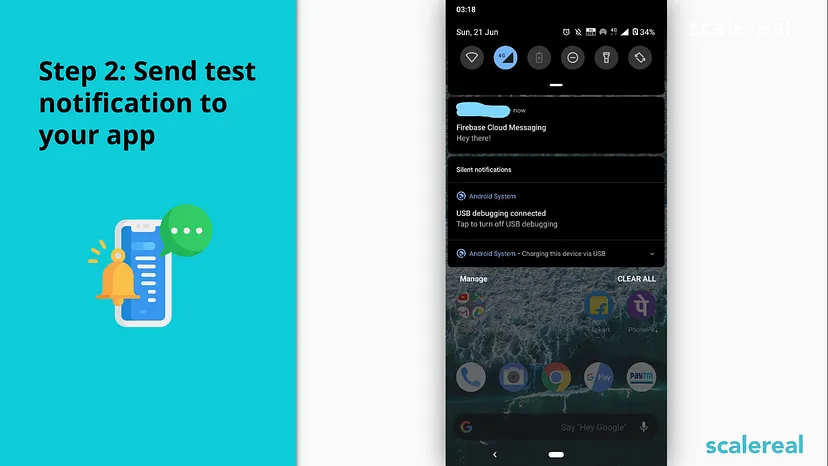
By sending a test push notification to our newly created Android App, we can ensure that the Firebase console-setup workflow is done correctly.
Develop your app server:
Decide whether you want to use the Firebase Admin SDK or one of the server protocols to create your sending logic — logic to authenticate, build send requests, handle responses, and so on. Then build out the logic in your trusted environment. Note that if you want to use upstream messaging from your client applications, you must use XMPP, and that Cloud Function does not support the persistent connection required by XMPP.
Next steps
- Run the Android or iOS Quickstart sample. These samples let you run and review code to send a test message to a single device using the Firebase console.
- Try the tutorials for Android or iOS.
- Add Firebase Cloud Messaging to your Android, Apple, or Web app.
- Set up your trusted environment where you’ll build and send message requests. You can write sending logic using the Admin SDK, and readily deploy that code on Cloud Functions for Firebase or other cloud environments managed by Google. Alternatively, you can perform server development using the FCM server protocols.
- Learn more about sending data payloads, setting message priority, and other messaging options that are available with FCM.
- Migrate your existing Android or Apple GCM implementation to use Firebase Cloud Messaging.
How to Develop your App Server
 Meow inspiring us to code our server 😹
- Create Django App
- Install the following package django-push-notifications
- Add secrets to your settings.py file
- Run manage.py migrate command to apply migrations provided by the package.
Configurations to be added in settings.py
FCM_API_KEY: Your API key for Firebase Cloud Messaging (You can find it in Project Settings -> Cloud Messaging).APNS_CERTIFICATE: Absolute path to your APNS certificate file. Certificates with passphrases are not supported. If the iOS application was built with the “Release” flag, you need to use a production certificate, otherwise, debug. Read more about the Generation of an APNS PEM file.
Server logic for sending data to FCM via package:
Once the server logic is in place, you can trigger push notifications at any desired event you wish to. And with this, you have successfully set up and configured your backend 💥
Sending Push Notifications via Postman 🚀
- POST request to https://fcm.googleapis.com/fcm/send
- Add
“Authorization : key=SERVER_KEY_OBTAINED_FROM_FIREBASE” & “Content-Type : application/json”in request headers
Limitattions
- FCM limits push notification payload size to 4096 bytes, so needs to stay within the size limits.
- Notification Throttling — Can send up to 240 messages/minute and 5,000 messages/hour to a single device. Read more about it here
That’s it from my side devs! 👨💻
Thanks for reading! If you enjoyed reading this article, please click the 👏 button and share to help others find it! Feel free to leave a comment 💬 below. You can connect with me here!
Have feedback? Let’s connect here.
~Akash Shrivastava