
I started using Linux as I always hated windows. To be honest, UI interactions are damn slow and CMD was no match for *nix shells. Also, GUI interactions can’t match the speed of our thoughts.
As I started using Linux I realized that in most cases, GUI apps are just a frontend to a CLI interface So why not use those features directly. The progression was nothing different for me than most people who love CLI.
Learn some commands
Type those commands in “and”, “or” arrangement to get the desired results.
Pipe (|) the output of one command to another command.
Write those commands into a file/script that can execute those commands sequentially.
Run those scripts in Cron jobs.
Over time I have tried many hacks/tools to increase my productivity in Terminal and in this article, I will be listing some of those tools and explain their usage.
Excited Eh?

So, let’s start
1. Oh My Zsh (https://ohmyz.sh/)
“ Zsh” + “Oh My Zsh” This would be the first thing that I would install on any machine that I have to work on. Also, recently apple replaced bash with ZSH on MacOs Catalina. Phew!! no need to install Zsh explicitly anymore(But, Still you will need to install “Oh My Zsh though”).
Why?
Apart from basic Zsh features. “Oh My Zsh” also gives the following features :
Plugins:
“Oh My Zsh” comes with a lot of preinstalled plugins that’ll make your life as a software developer easier and leave you feeling like a superhero 😎
it also comes with git plugin enabled by default and this plugin alone will save you a lot of time by giving you 50+ aliases
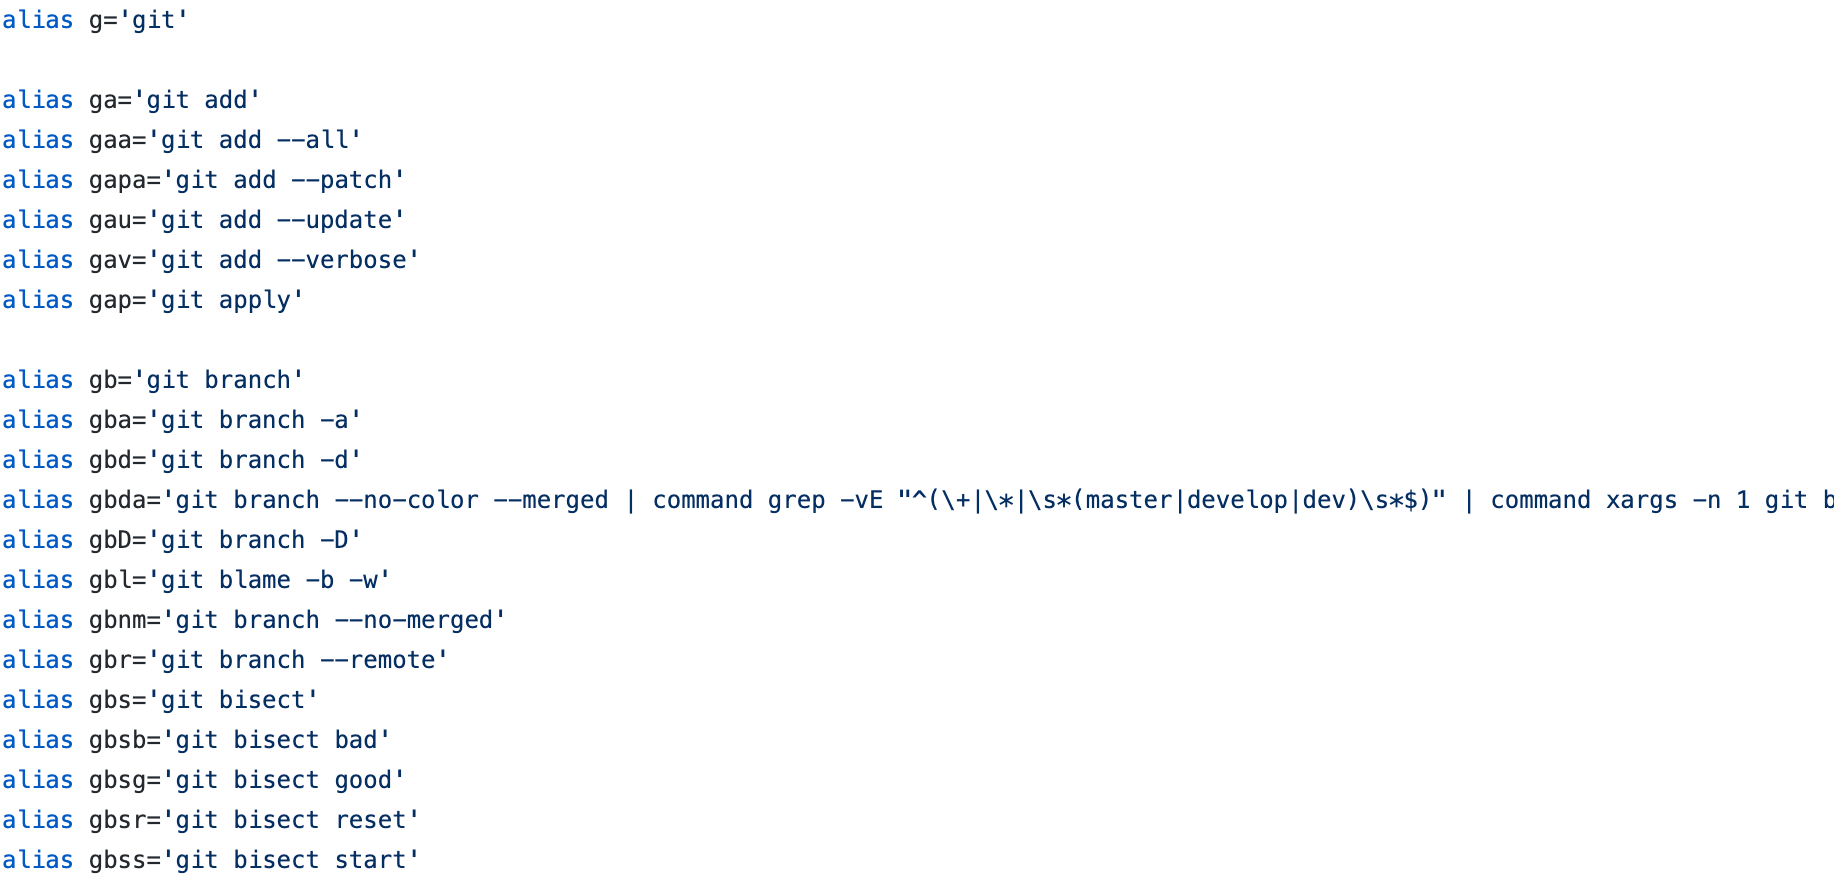
I use only selective of these aliases but it still saves me a lot of time and typing.
There are a lot of plugins available on this Link
Themes:
This was one of the most important features of “Oh My Zsh” for me when I first got introduced to it.
This is how my current shell looks like 😍
There are a lot of themes available on this Link
Community:
“Oh My Zsh” has a huge community of users and contributors. Without all the time and help from contributors, all these themes and plugins wouldn’t be so awesome.
There are a lot more reasons to love “Oh My Zsh”. But, I’ll keep that part for you to explore as per your taste.
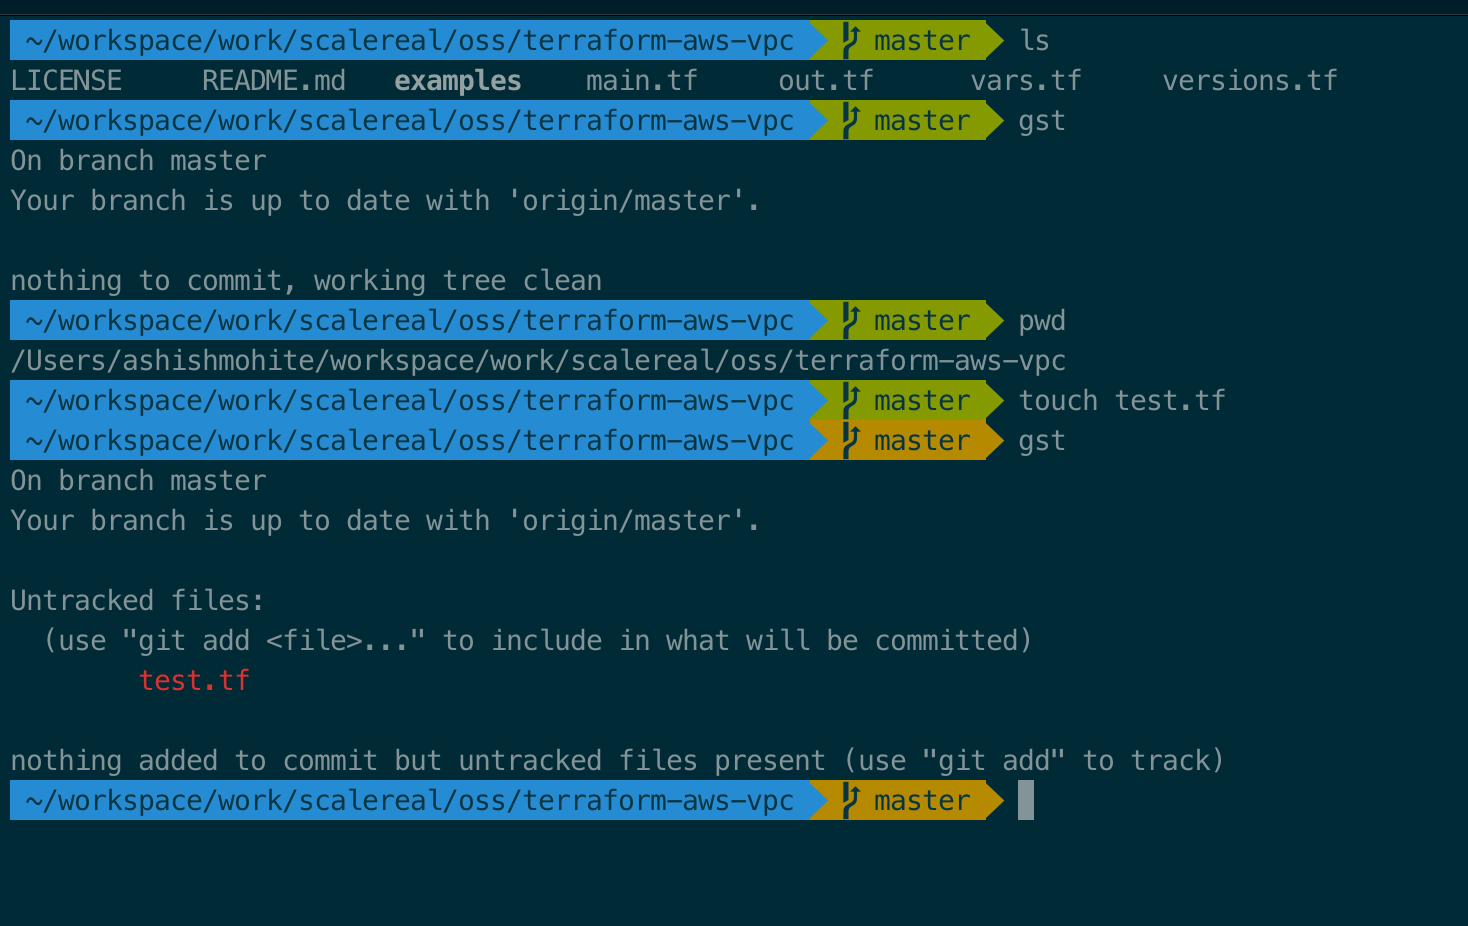
2. Autojump (https://github.com/wting/autojump)

Autojump is a faster way to navigate your filesystem.
For me, This would be the most important thing to install on any new machine after “Oh My Zsh”.
It works by maintaining a database of the directories you use the most from the command line. Directories must be visited first before they can be jumped to.
Following images shows the usage of autojump
autojump also shows you suggestions when you type some text and press tab
like
j scalereal<TAB>

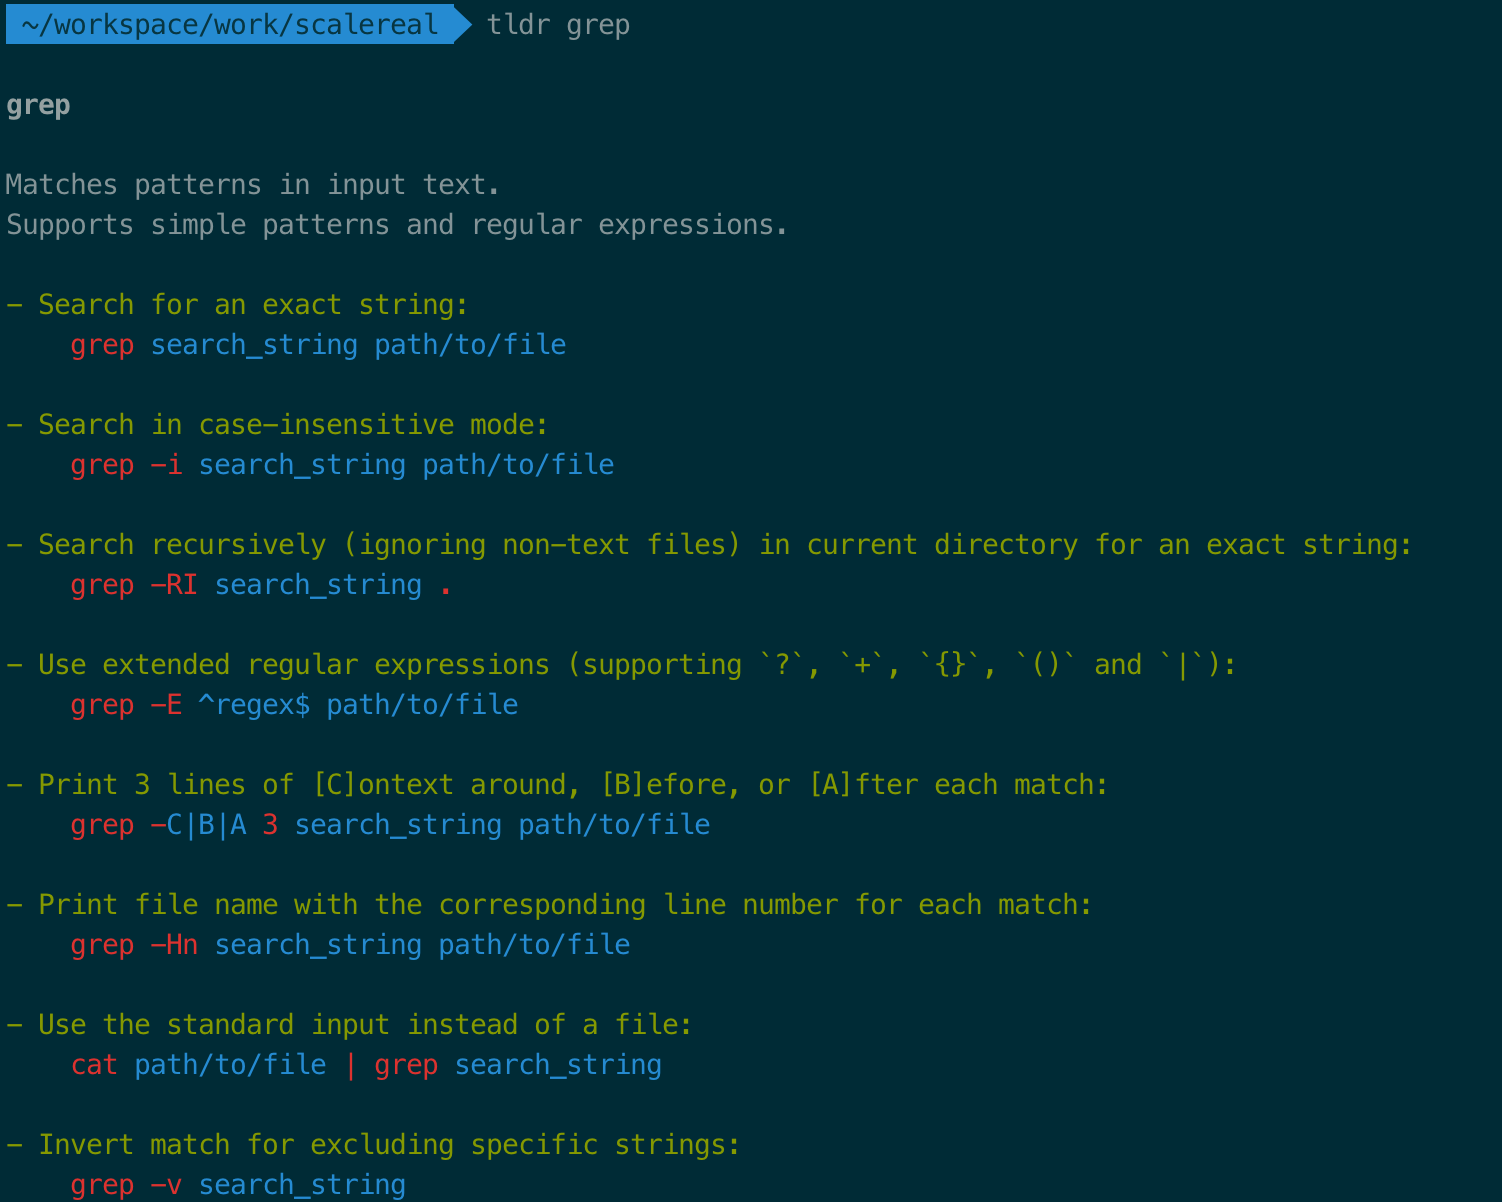
3. TLDR (https://tldr.sh/)
TLDR, as the name suggests, is a solution to all those boring and never-ending man pages.
man pages hardly have examples in them. And, I prefer to follow examples than read through all man page options and figure out how to use a particular command.
TLDR gives me exactly what I want i.e. Examples !! lots n lots of examples 🤩
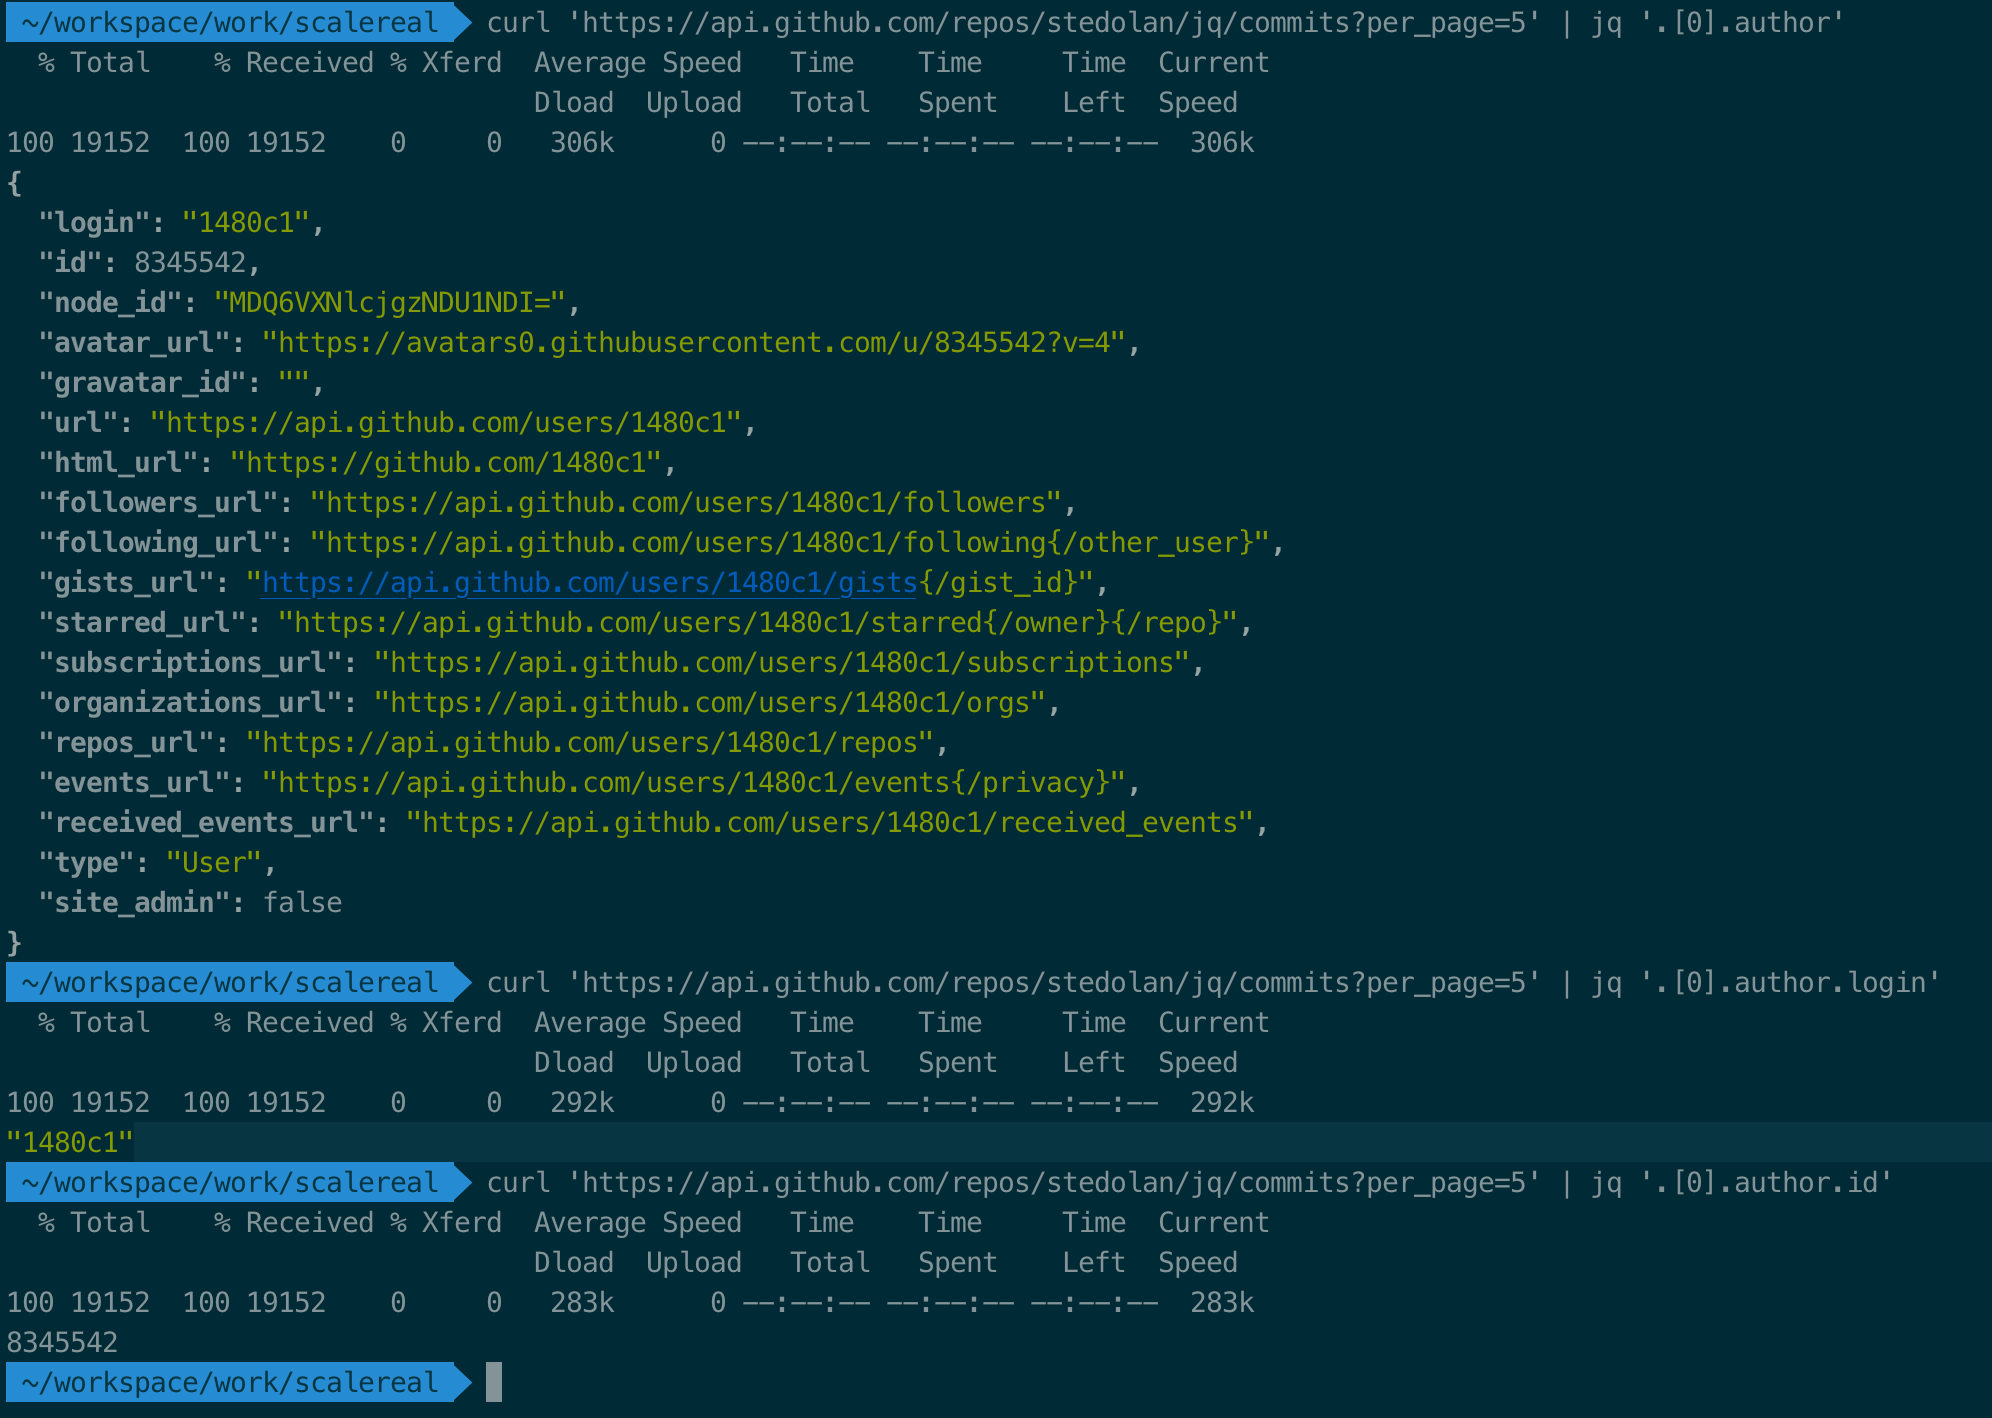
4. jq (https://stedolan.github.io/jq/)
Parsing JSON on CLI has always been a nightmare. But, thanks to jq now it has become a breeze. jq is a lightweight and flexible command-line JSON processor.
jq is so prevalent these days that most CI tools like Travis, AWS Codebuild has it preinstalled.
Using jq effectively may take some time but it’s worth every second you spend on learning jq.
Here’s the recording of how to use jq jq example Recorded by ashishmohiteasciinema.org
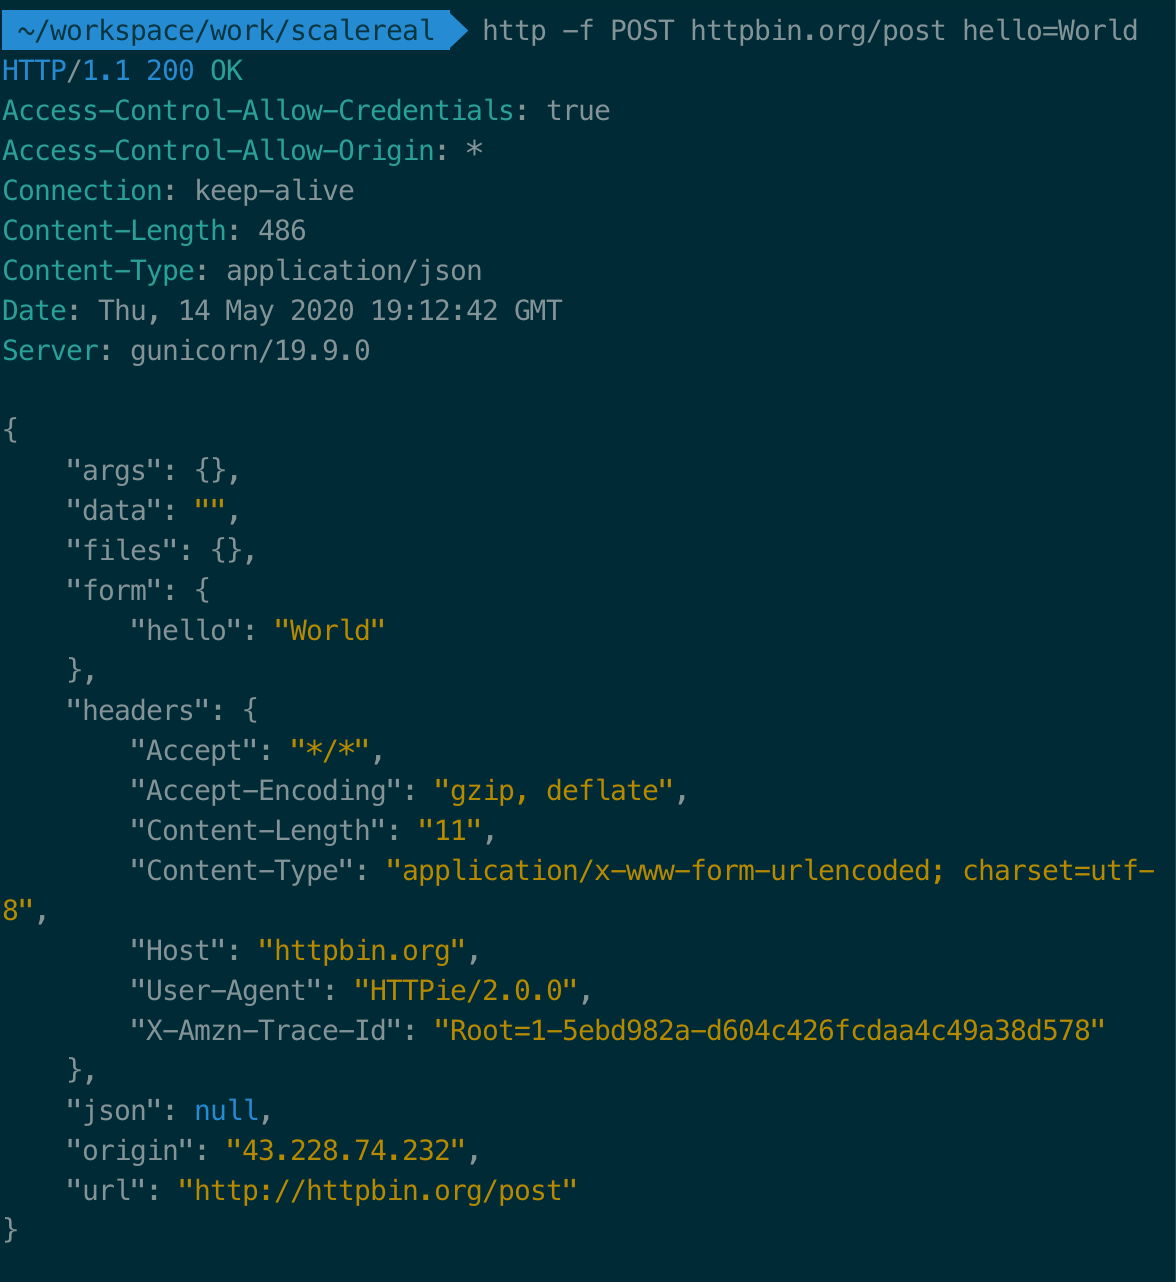
5. httpie (https://httpie.org/)
Httpie is a command-line HTTP client with an intuitive UI, JSON support, syntax highlighting, wget-like downloads, plugins, and more.
Using curl is kind of tedious and as soon as you start making the call more realistic like adding headers, post body, and file upload it gets even more complex.
httpie makes every interaction simple.
6. python3 -m http.server 8080
This simple python HTTP server comes in handy when I want to share files from my machine over the network.
I have used this when downloading files from the server and uploading files to the server over the network.
First, you need to start the server on the machine that has the files to be shared.
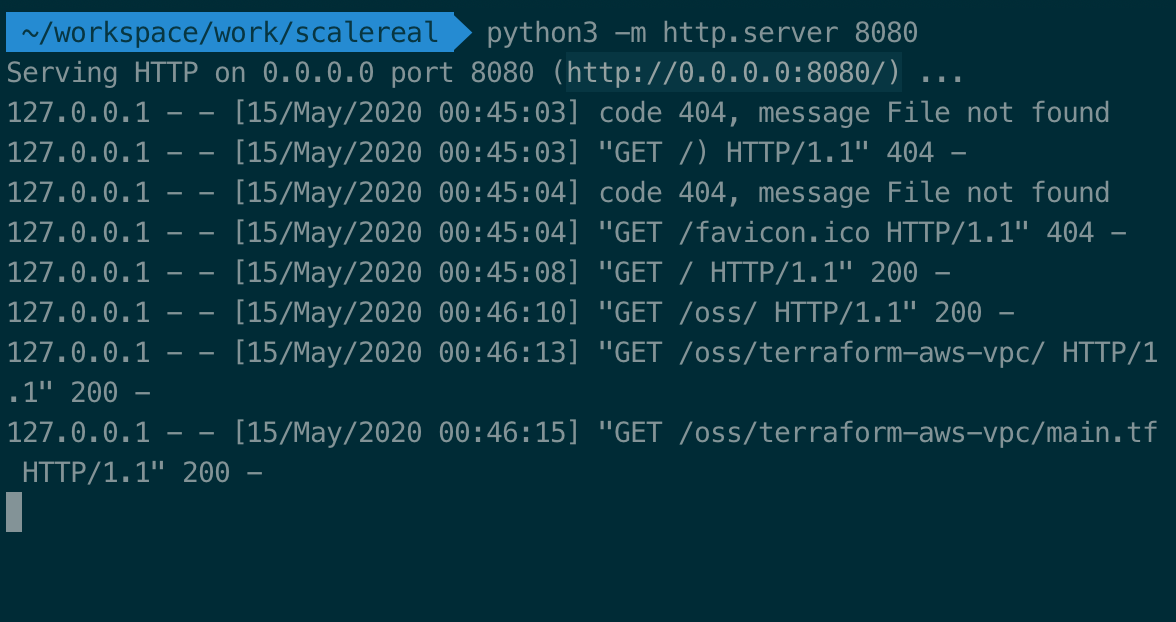
Then you can download the files on another machine by simply pointing your browser to the http://ip:port of the machine where the server is running.

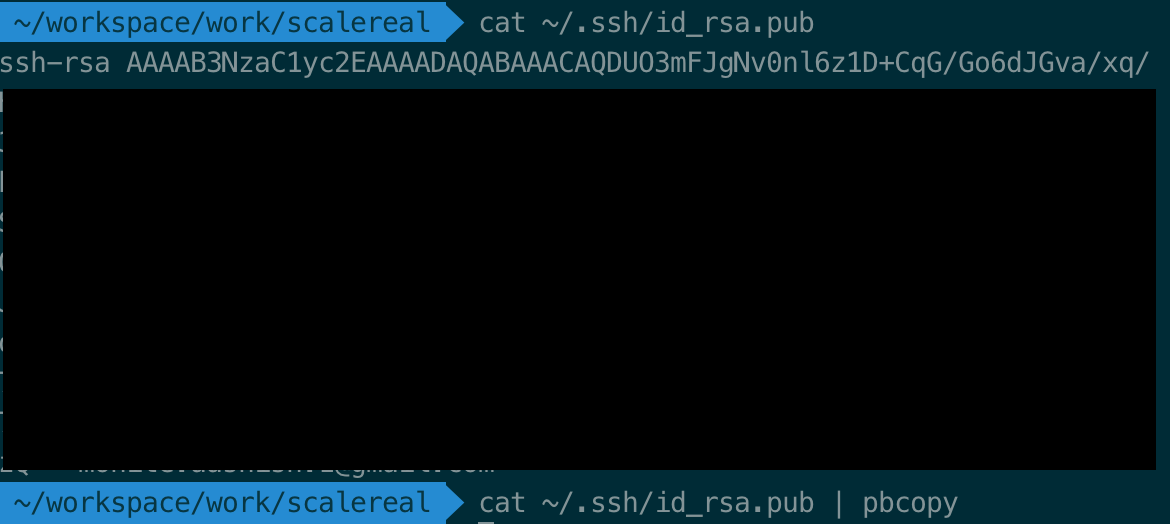
7. pbcopy
pbcopy copies data from STDIN to the clipboard. This command comes in very hand every now and then whenever I want to copy the output of last run command to my clipboard. And, We all know how much we software developers love copying 🤩
pbcopy is preinstalled on macOS. But, pbcopy isn’t available out of the box on Linux but you can create an alias follow this Link
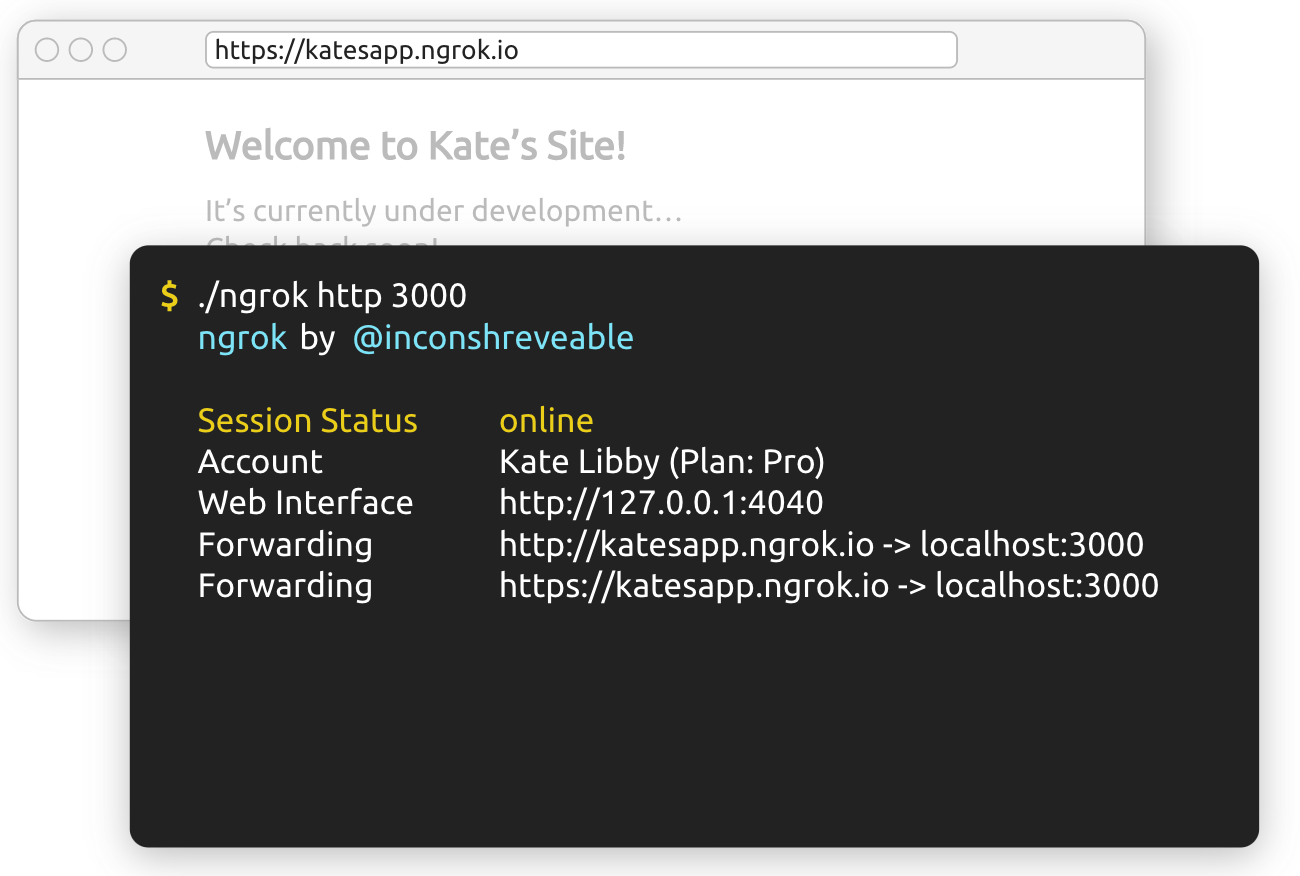
8. ngrok (https://ngrok.com/)
ngrok provides public URL for you locally running a server so that you can demo it to your clients, test webhook integrations, test your chatbots, and a lot more.
you can find more details on how to use ngroc on their site.
I have used ngrok mainly for testing webhooks.
9. tmux
tmux gives your terminal superpowers.
tmux is a terminal multiplexer: it enables a number of terminals to be created, accessed, and controlled from a single screen. tmux may be detached from a screen and continue running in the background, then later reattached.
Also, tmux lets you split your terminal into multiple terminals vertically or horizontally by using simple shortcuts
I initially had a really hard time setting up tmux on mac but finally, I was able to do it and that was one of the happiest days for me.
10. !! (Bang Bang)
How many times did you get this message in vim “Changing a readonly file” ? or maybe “permission denied” only because of you not adding sudo at the start of the command.
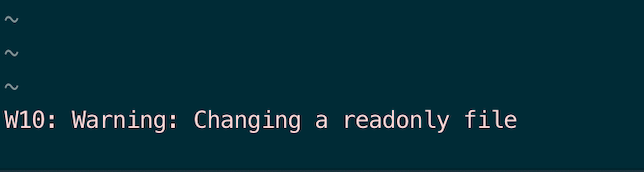
What if I tell you that you can correct your mistakes without typing the whole command again and also not moving back to your cmd history?
sudo !!
after you do this it will basically convert your command into following:
sudo vim /etc/hosts
Life-saving isn’t it?
That’s all folks. At least for this post. We will soon be adding more similar posts so keep watching this space
At Scalereal We believe in Sharing and Open Source.
So, If you found this helpful please give some claps and share it with everyone.
Sharing is Caring
Thank You :) 🙏
Reach out to me on Twitter, LinkedIn